Adding a slideshow
Table of Contents
1. Choosing Slideshow Images
2. Choosing Slideshow
3. Assigning Slideshow to a Page
4. Slideshow Settings and Slide Types
5. Assigning Text Colors per Slide
6. Adding Slideshows to a Page
7. Troubleshooting & FAQ (using sliders inside Flex Blocks)
Slideshows - Initial Steps
Slideshows are used all over the web these days. It is a convenient tool to showcase your best work, promotions, or upcoming events.
1. Choosing Slideshow Images
When uploading images it’s important to consider the type of image you upload. Make sure that the image is not too busy, as in many cases it will also have the website header with menu and logo over it. In some cases, you may want to add additional text or links over the image. So be sure to choose proper images for the website Slideshow.
Recommended size: 2400x1600px, jpeg, saved for web, and optimized.
2. Choosing Slideshow
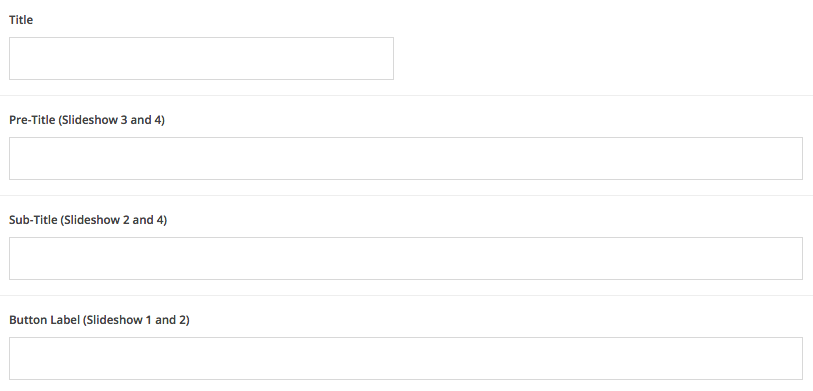
Aside from choosing the proper images, it is important to choose the proper Slideshow. Having already determined the Slideshow type you like, you can then proceed with adding content. Pay additional attention to the text areas used within the Slideshows, as in some cases not all text areas appear on certain Slideshows. example below:
3. Assigning Slideshow to a Page
Once a Slideshow has been created, you will need to go assign it to a Page within the using the Page Builder. More details below.
Below we have broken down the process of Creating Slideshows and Settings into several areas. These areas will help you better understand the available settings.
Please note, the following article is generic and does not include Theme specific options.
Creating a Slideshow
To create a Slideshow first go to the top right corner of the website admin panel – Slideshow – Add New. Proceed to add the Slideshow Title and then upload images using our Image Slide Upload tool.Below is a short video explaining this process.
4. Slideshow Settings and Slide Types
Most of the time creating a Slideshow is not enough. Take a look at the settings for each slide like the transition effect, the autoplay option, color for the elements, and text to make sure you customize your slider.
Below we have a short video explaining some the basic Slideshow Settings.
*NOTE Changing the color of the elements over a slide will also affect the Website Menu and much of the Header Content if it is overlapping with the Slideshow.
Image Slides
Image Slides is one of the most popular options when it comes to Slideshows. Over the process to add images is very simple.
Click on Add Slide and upload your image content directly from your computer or the website Media Library if images have been uploaded previously.
Adding Video to Slideshows
When adding Videos to Slideshows there are 2 options:
– Image + Video Embed
– Video in Background
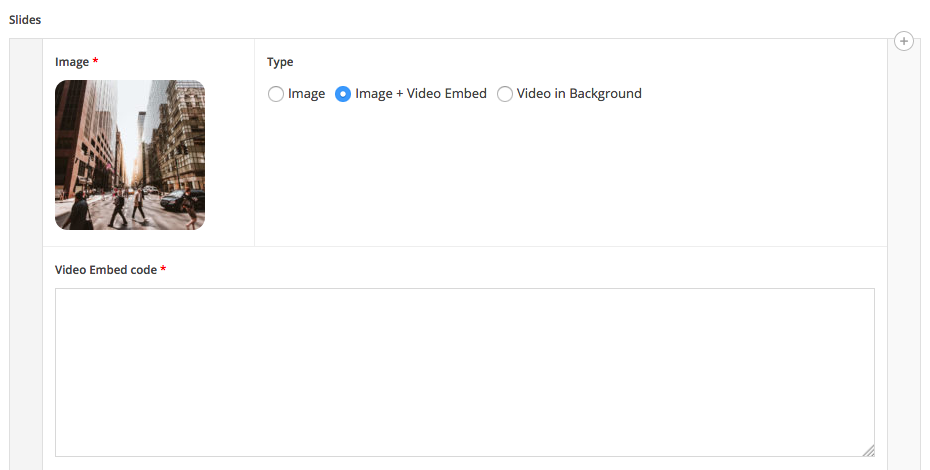
Image + Video Embed
This option requires you to upload an image which serves as the Video Cover image. After the image has been uploaded, add the Video Embed Code or Video URL into the designated field.
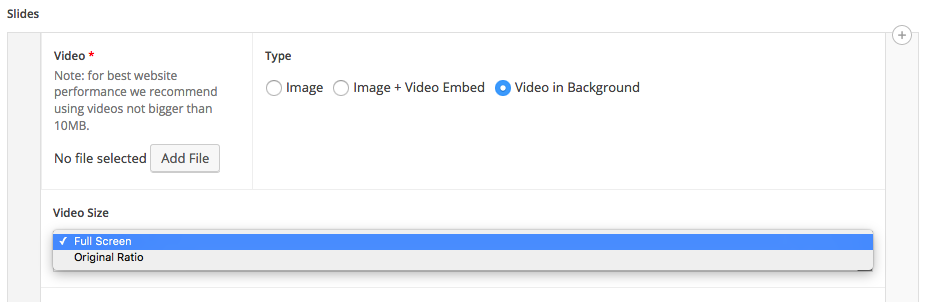
Video in Background
The other option is to upload a Self Hosted Video directly to the website Media Library. If you decide to go with a Self Hosted option make sure the video file size does not exceed 10mb. Restricting the file size helps the video load faster on devices.
Video Size
There are two video sizes to choose from: Original Ration and Full Screen.
Original Ratio – please keep in mind that this option may have black borders around the video if the screen size is much larger than the video ratio.
Full Screen – this a common option that stretches your video edge to edge.
 `
`
5. Assigning Text Colors per Slide
Depending on the type of image you upload, you may need to change out the font color to ensure it is visible over the image. To help you with this task all themes allow you to change the Elements Color. This option changes all the text and any additional elements such as arrows or SM Links over the Image.
Some themes allow you to add an Image Overlay Color. This option can brighten or darken an image and bring out the Elements Color even more.

Image Position on Mobiles
Mobile devices can be quite difficult to control. However, because of the Slideshow importance we added a feature that will help you control how your Slideshow Images are displayed on Mobiles.
Hover over the Image within a Slideshow, click on the Image Position on Mobiles icons to make the required adjustments.
6. Adding Slideshows to a Page
When a Slideshow has been created, it doesn’t just appear on any page, you need to go to a specific page where you want to add a Slideshow Block, and assign the created Slideshow.
This is a 2 step process:
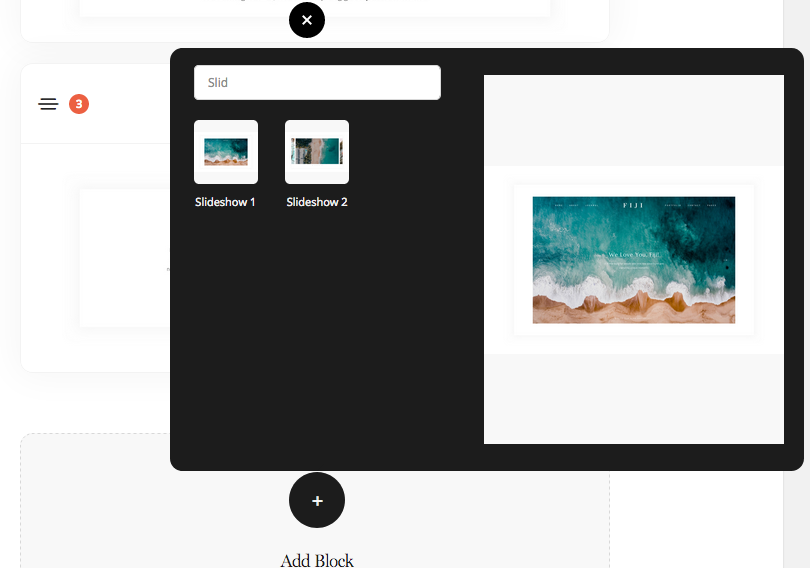
1. Select a Slideshow Block
As each Theme has multiple different Slideshows Blocks, you first need to choose the desired Slideshow Block and add it to a Page through our Page Builder. (if you are building a page from scratch, or using a page template that does not include a Slideshow Block)
If you are using a pre-designed Page Template, you may already have a Slideshow Block within the Page. In this case, go to the next step of assigning a Slideshow to the added Slideshow Block.
2. Assign a Slideshow
Now that you have a added the desired Slideshow Block to your Page, open the Slideshow Block Settings and assign the created Slideshow to the following Slideshow Block.
Having this process allows you to create multiple Slideshows on different Pages.
*NOTE- each Slideshow Block has it’s own set of settings that can be adjusted per your preference and where the Slideshow Block is being used.
Some settings are:
– Display Header – YES/NO – this option was added in case you want to use a Slideshow Block between other page blocks in the middle of a Page, or simply do not want the Header to overlap with your Slideshow Images.
– Custom Header – YES/NO – This option is used only if you are created a custom navigation menu for this page.
– Slideshow Height – some Blocks allow you to choose Full Screen or a Specific height for the Slideshow Block.
– Text & Colors – other settings such as Font Style and Color Adjustments apply to all Slideshow Blocks.
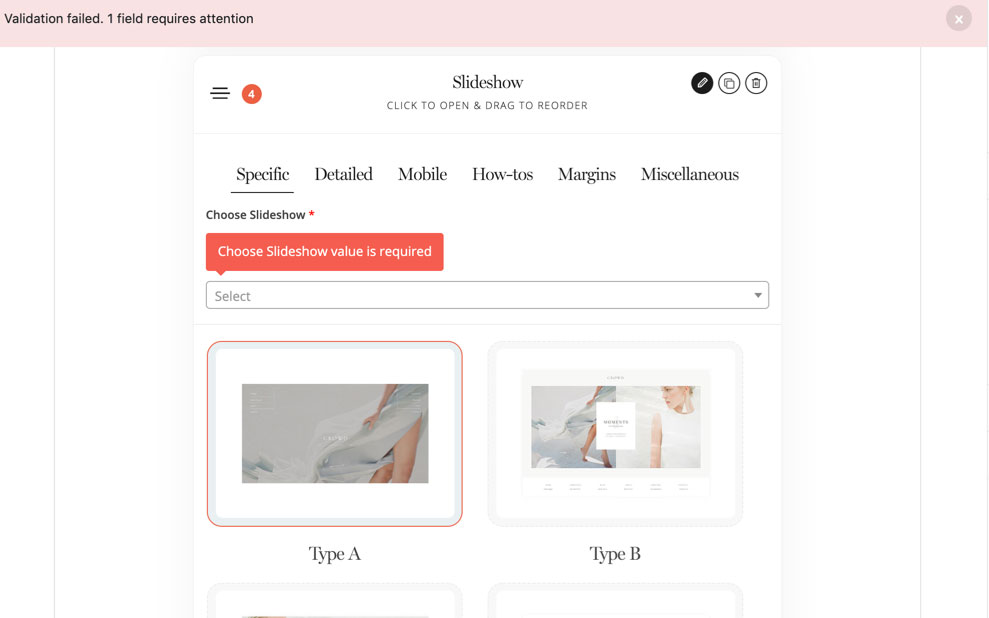
7. Troubleshooting & FAQ
NOTE*: If you'll add slideshow block but you will forget to connect it with a specific slideshow you created, you will have the following warning. Just select a slideshow and the issue will be solved.
Question: Can I add a slider inside a Flex Block?
No. Flex Block doesn't support sliders yet. We're working on this, but no available option is available at this point
A creative workaround that our clients use is adding GIFs inside a Flex Block. Just be mindful when it comes to the size of the GIF file.
For inserting a GIF into a FlexBlock, we recommend first creating it using whatever GIF creator tool you are comfortable with. After creating the GIF you can simply insert it into the Flex Block as an image. As a creative alternative, you can use it within a predesigned block as shown:
