Adding Text
In order to add the text element to your Flex block, click the Add Element icon, and in the expanded bar click the Text element:

Smart Bar - Text Options
As soon as you added Text block and you have it in focus, you will see a vertical grey bar to the right – Smart Bar. You will see 2 main options in Smart Bar – to position the text element vertically and horizontally within the whole block.

WYSIWYG* - Text Options
*WYSIWYG stands for What You See Is What You Get. This would mean that once you double click any text inside your flex block, a toolbar would appear next to it, with various options for editing: typography & color options, text alignment, text markup, text formatting (bold, italic etc)

Typography
Theme Tab - when you select a text in the Flex Block, Theme Typography is selected in Typography tab by default.

You can see that the font style that is applied to the text you selected is one of the theme font styles that you can find in Flex Admin, under the Style Kit Tab or Custom Tab - if you used your own Custom Font Style.

For Theme Typography Font Styles you can adjust:
- text formatting options – bold, italic, all caps, etc.
- the scale of the Font Style (only for Titles).
Note: In case you apply a different font style from the available font styles – it will be applied to the whole text element.
Custom Tab - In case you require more customization for a specific text (or part of it) and you cannot find the required font styles in your theme Typography Font Styles, you can open Custom tab to get more control for some specific text portion (and you can achieve it without adding a new Font Style, that is also an alternative way to do it).
Switch to Custom under Typography tab and expand the fonts dropdown. Here you will see font families (these are fonts without any settings like size or letter spacing applied):
- 5 default Google font families
- all font families from your Typography
- any new font families if you previously added any custom fonts, google fonts or adobe fonts to your Typography.
You select the required font family and start playing with settings to achieve the required result.
For Custom Font Families you can adjust:
- text formatting options – bold, italic, all caps, etc.
- text size, line height, letter spacing.
Note: being in the Custom tab you can apply a different style to a particular work or part of the word.
Text Color (applied to a highlighted selection up to one letter)
Select the whole text or a part of it to apply a Theme or Custom color.

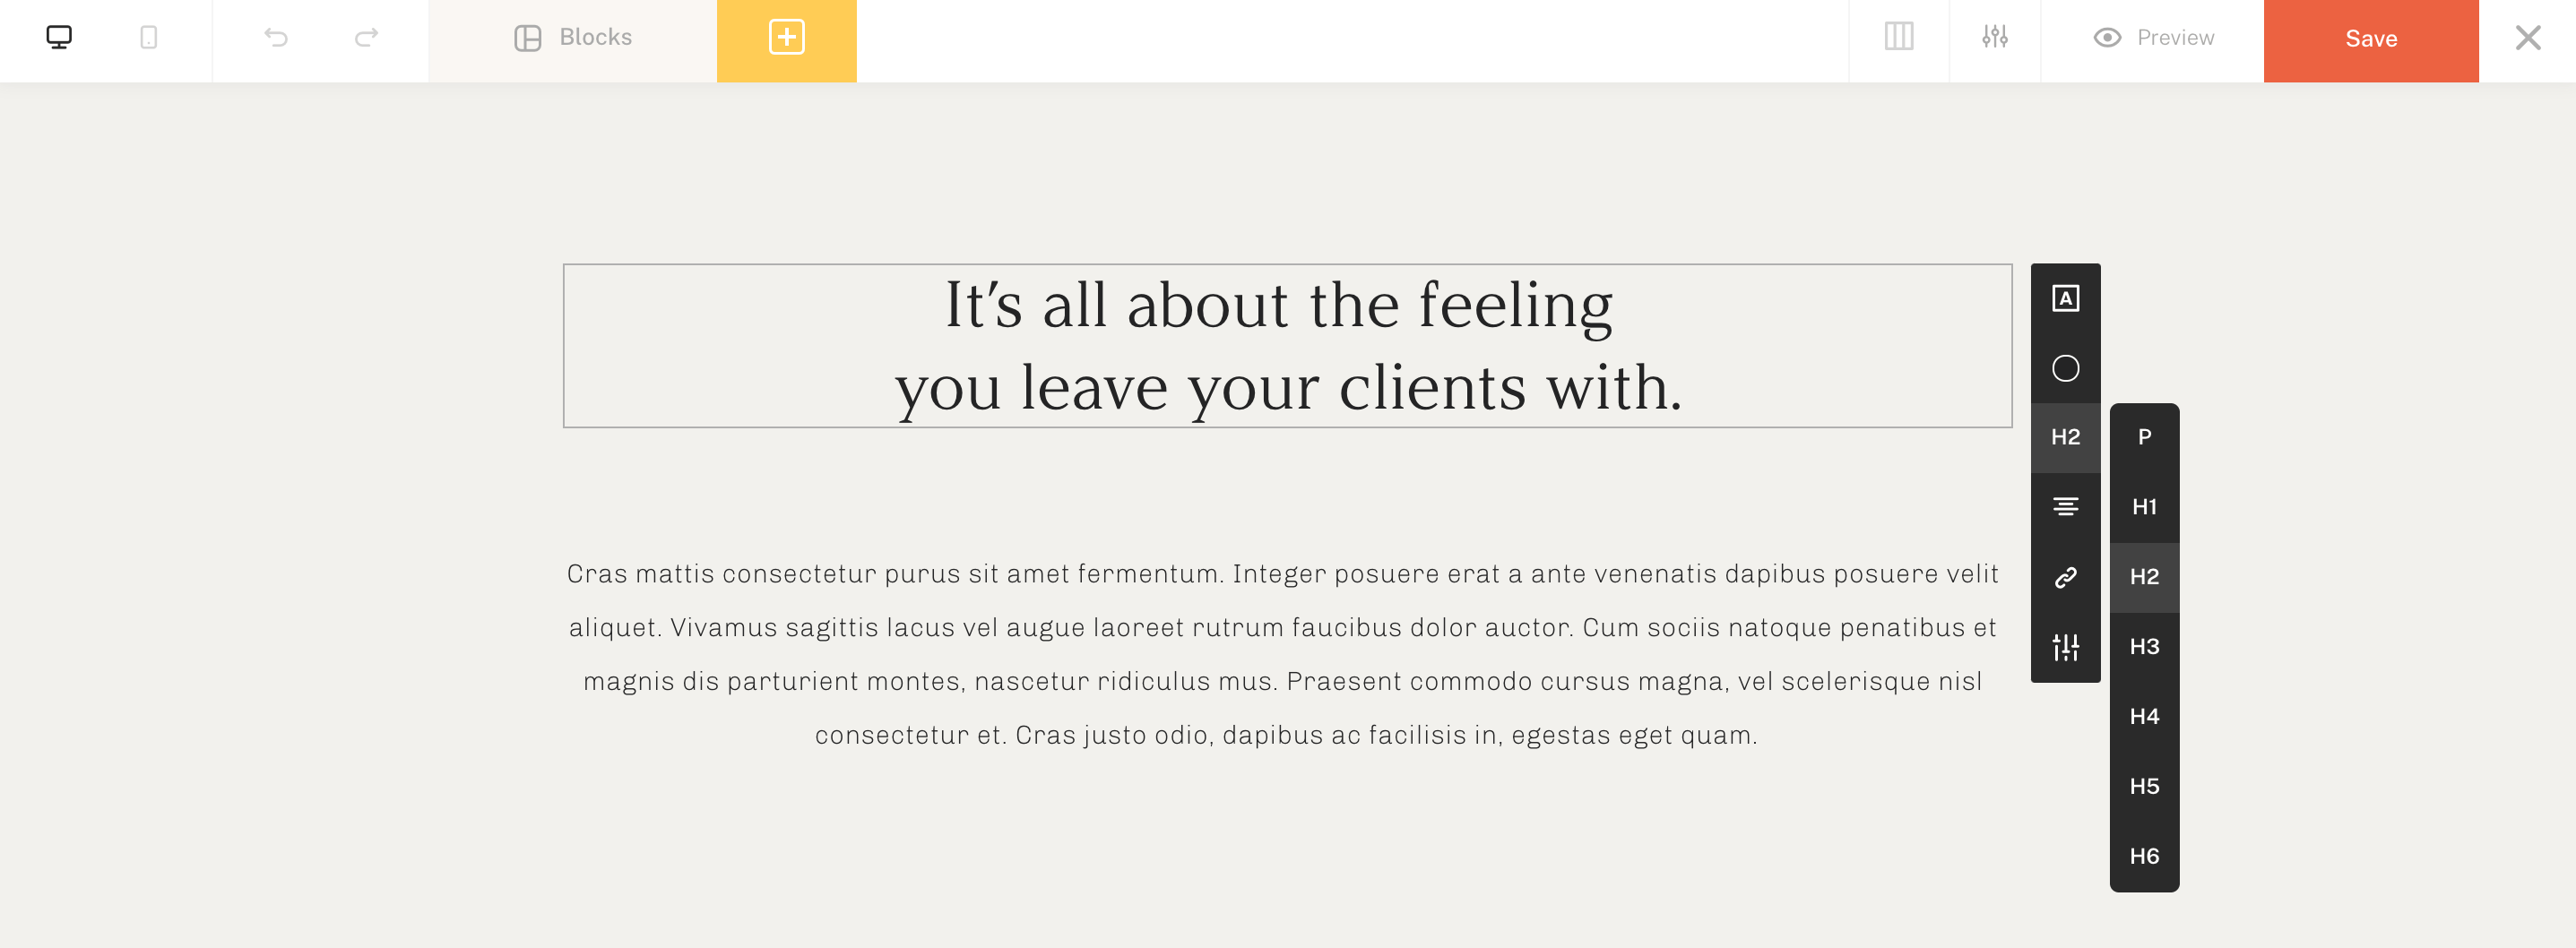
Text Markup (applied to a paragraph)
The option is required for SEO markup. It will not affect how the font looks but will add corresponding tags to it. (For example, H2 for the title). By default, the text is added as a paragraph.
Text Alignment (applied to the whole element)
The option will be aligned with the whole text element.

Hyperlink (applied to a highlighted selection up to one letter)
Select the whole text or a part of it to add a link to it.

Additional Text Settings
Click on the settings icon to expand additional settings that will appear to your right or left side:

-
at the top of each element’s settings, you will see the Sizes and Positions section. This is an informative section where X and Y show the top left angle position, o shows the rotation angle, W and H show the width and height of the element. These fields are functional and you can use them to move, resize, or rotate your element. However, the same actions can be achieved by manually tweaking the element with your mouse.
- Height Auto option that will automatically adjust the text element frame in case it’s activated. You will also get Padding options if Height Auto is activated, see more info below.
- If Height Auto is not activated, you will see the options for Vertical Text Alignment that allow you to align the text vertically within its frame.
- The Text Element can have its own background color, outline border, and rounded corners.
- Custom classes is an option for advanced users that allows to add custom CSS to the element.
Important for Text - element frame and height auto
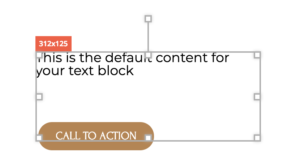
When you add a text element to your block and add text into it, you should be careful to not have the element frame larger or smaller than it should be. If the text frame is too long and overlaps with some other functional element (like a button) it will make that button partially non-clickable.
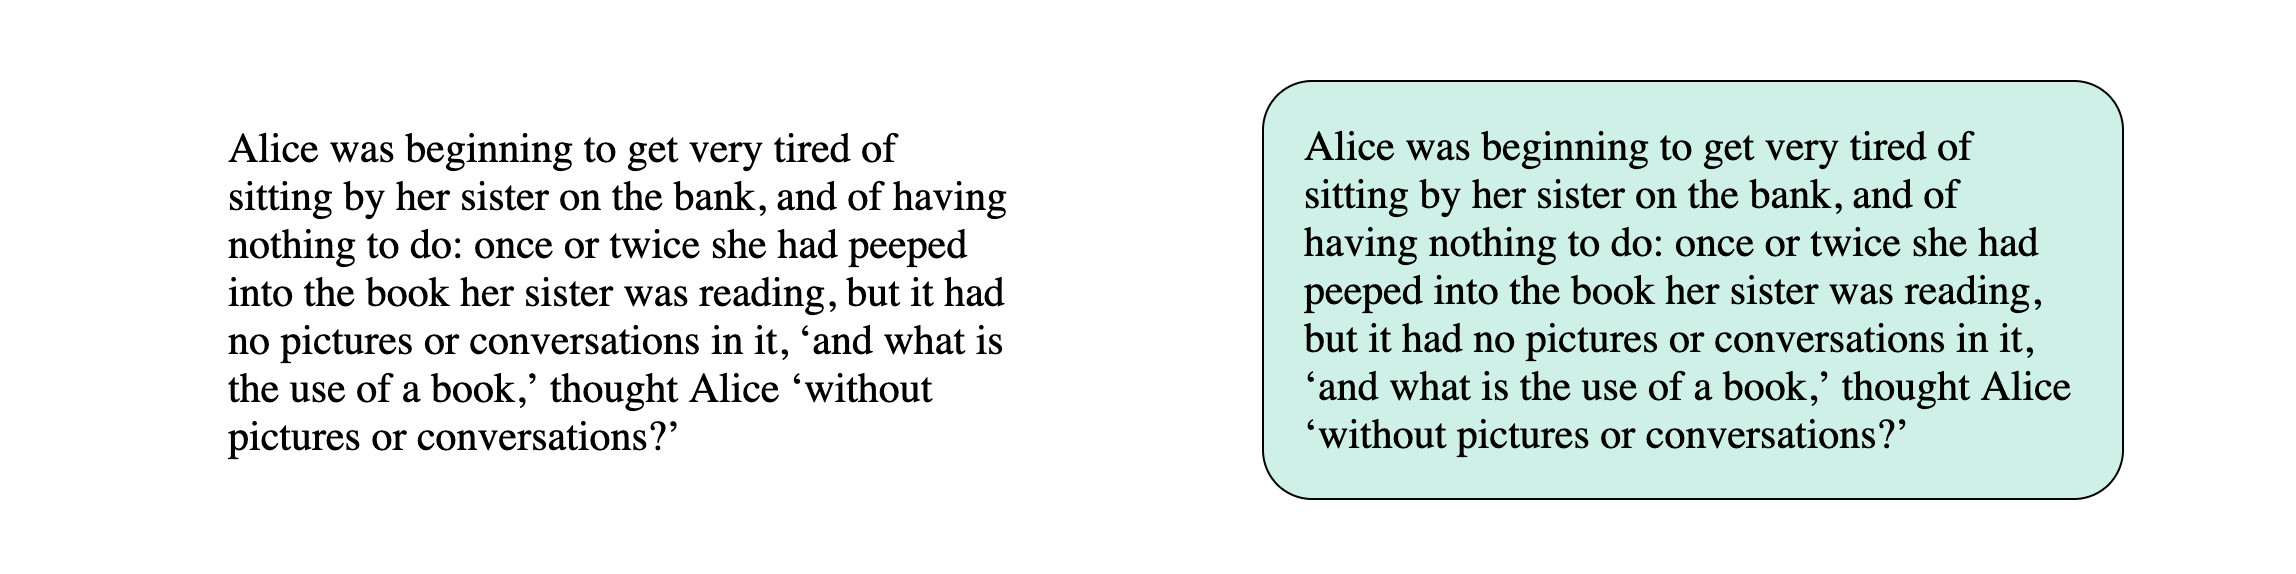
To be on the safe side we recommend using the Height Auto option that will adjust the element’s frame to the content:
In addition to this, if you activate Height Auto, you get access to the text padding options that can be very useful if you use a background color:
If you have any issues with your text/fonts inside FlexBlocks, check this list with the most common issues here.